
If you have cane-back dining chairs, you know how beautiful and comfortable they can be. However, over time, the cane can become damaged or worn, leaving your chairs looking less than perfect. Fortunately, repairing cane back dining chairs is a relatively simple process that you can do yourself. In this guide, we’ll show you how to repair cane back dining chairs step by step, so you can restore your chairs to their former glory and enjoy them for years to come. Whether you’re a DIY enthusiast or just looking to save some money, this guide will provide you with all the information you need to repair your cane-back dining chairs quickly and easily.
Table of Contents
Are cane back chairs in style?
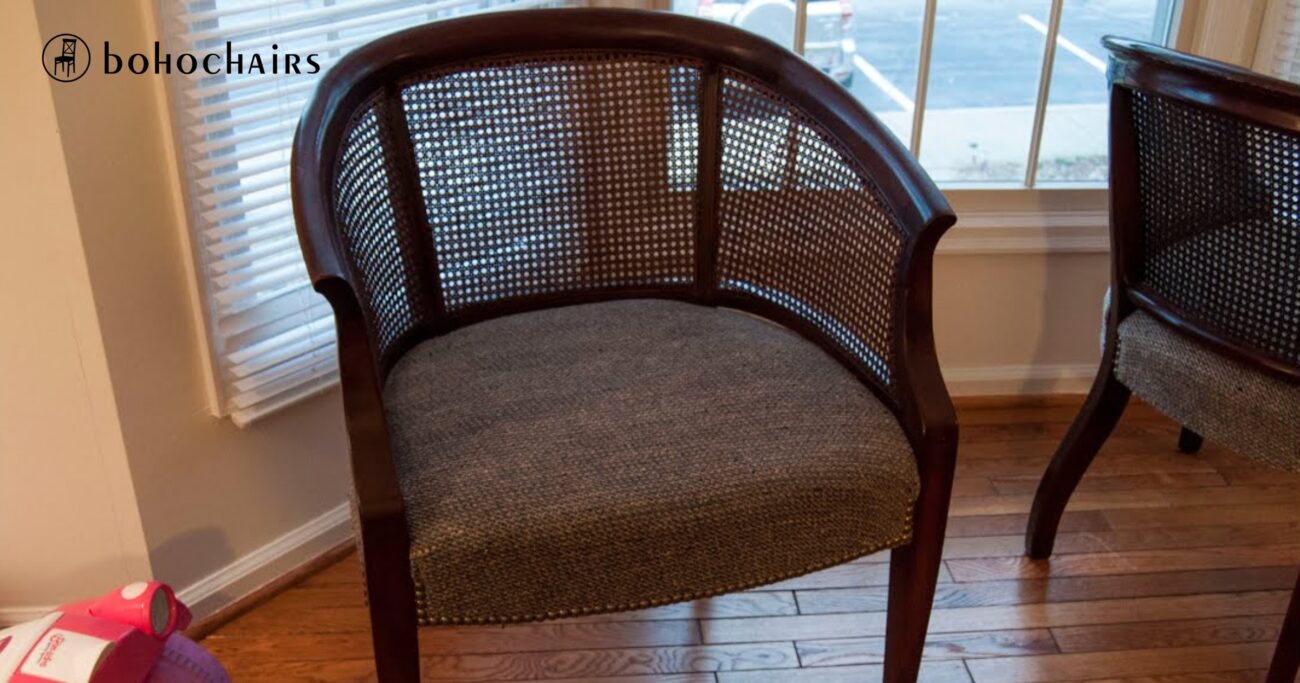
Cane back chairs are timeless and have been in style for centuries. These chairs were popularized in the 18th century, during the French Regency period, and have since remained a staple in traditional and classic home decor. Today, cane back chairs are often paired with modern and contemporary decor, adding a touch of elegance and sophistication to any space.
What cane chair seat do you need to repair
To repair your cane chair seat, you will need the following materials:
- Cane webbing
- Cane spline
- A spline chisel or utility knife
- Wood glue
- Sandpaper
- Stain or paint
- Paintbrushes
- A sealant
- Optional: new seat cushions
Step-by-Step Guide
Step 1: Remove old seat cushions
Are you ready to give your cane back chairs a new lease on life? The first step in repairing them is to remove the old seat cushions. But don’t worry, it’s more manageable than it may sound. Depending on the type of cushion, you may need a screwdriver or pliers to remove the screws or staples holding it in place.
This step is essential because it allows you to assess the condition of the seat frame and repair any damage before adding a new cushion. Removing the old cushion allows you to choose a new fabric and add style to the chairs. So go ahead, grab your tools, and get ready to give those chairs a fresh start!
Step 2: Sand the wood chairs
Reviving old wooden chairs can be a fun DIY project that can transform the look of any room. After removing the cushions in step one, step two is to sand the chairs. Sanding is a crucial step in the restoration process as it helps to remove any old paint or finish, revealing the actual texture of the wood. It also helps smooth out any rough edges or scratches on the surface, ensuring the new paint or stain adheres to the wood.
Sanding can be an exciting process, especially when done correctly. It can be therapeutic, allowing you to channel your creativity and explore different techniques to achieve the desired result. You can choose to sand the chairs by hand or use an electric sander, depending on the size of the project and your personal preference. Regardless of the method used, sanding the chairs is an excellent way to create a well-smooth and even surface ready for the restoration process’s next step. So, grab your sandpaper and get ready to breathe new life into your old wooden chairs.
Step 3: Clean and prep the chairs for new stain
Congratulations on making it to step 3 of your DIY chair renovation project! Now that you have sanded the chairs to remove the old stain or finish, it’s time to clean and prep them for the new stain. This step is crucial because it ensures the new stain adheres appropriately and looks beautiful for years.
First, take a damp cloth and wipe down the chairs thoroughly to remove any dust, dirt, or debris left over from sanding. Ensure to get into all the nooks and crannies of the chairs, including the underside and legs. Once you have cleaned the chairs, allow them to dry properly before moving on to the next step.
Next, apply a wood conditioner to the chairs. This step is essential because it helps the stain absorb more evenly, ensuring a smooth and consistent finish. Follow the manufacturer’s instructions for the specific conditioner you are using, as the drying time can vary. Once the conditioner has dried completely, your chairs are ready for the next step.
Step 4: Apply stain finish
Reviving old furniture can be a fun and fulfilling project that allows you to breathe new life into something old. Applying a stain finish to chairs is a crucial step that can make all the difference in the final look of your project. With a paintbrush, you can apply a thin coat of stain to your chairs, highlighting the wood’s natural beauty while protecting it from wear and tear. Let each coat of stain dry completely before applying the next one to ensure the finish is smooth and even.
But the fun doesn’t stop there. If you want a deeper, more decadent finish, you can apply additional coats of stain until you achieve the desired look. It allows you to customize the appearance of your chairs to fit your style and preferences. With patience and careful attention to detail, you can create a stunning finish that will enhance the overall beauty of your chairs and bring new life to your space. So go ahead, grab your paintbrush, and let your creativity shine.
Step 5: Apply a stain sealer
Have you ever spent hours refinishing furniture, only to have the beautiful stain job ruined by moisture or scratches? Don’t let all that hard work go to waste! Step 5 of the refinishing process is to apply a stain sealer. This critical step will protect the finish of your furniture from damage and help it last for years to come.
After allowing the stain to dry, grab a brush or roller and apply a coat of sealant over the entire furniture surface. Sure to follow the manufacturer’s guidelines for application and drying time. Once the sealer has dried completely, you can reattach any seat cushions or other components that were removed during the refinishing process. With some care and maintenance, your newly refinished furniture will look as good as new for years.
How to paint cane back chairs
If you prefer a painted finish on your cane back chairs, follow these steps:
Gather Materials
To paint your cane back chairs, you will need the following materials:
- Spray primer
- Spray paint
- Painter’s tape
- Sandpaper
- Cane webbing
- Cane spline
- A spline chisel or utility knife
- Wood glue
Prep Work
Looking to give your old chairs a new lease on life? The first step is to do some prep work! Begin by removing any seat cushions and giving the chairs a thorough cleaning. It will ensure that the paint adheres properly to the surface. Next, use painter’s tape to mask any area or space you do not want to paint. It will help you achieve crisp lines and avoid messy drips or streaks. Don’t forget to choose a high-quality paint specifically designed for furniture use, as this will help ensure that the finish lasts for years. With some elbow grease and careful attention to detail, you can transform your old chairs into stunning statement pieces that will impress.
Priming the Chairs
Are you tired of your outdated chairs? Spruce them up with a fresh coat of paint! However, before you can paint, you must prime. Priming your chairs will help the paint adhere better and last longer. Once your chairs are clean and dry, it’s time to prime. Grab a can of spray primer and head to a well-ventilated area. Give each chair a thorough primer coating, ensuring all surfaces are even. Don’t rush this step – let the primer dry completely before painting. With patience and some elbow grease, your chairs will look brand new. So, get priming and enjoy your revamped seating.
Choosing Your Paint
Are you looking splash of color in your home decor? Choosing the right spray paint can make all the difference. If you’re working with wood, be sure to select a spray paint that is formulated for that purpose. Not all paints are created equal, and using the wrong type can lead to poor adhesion, cracking, or peeling once you’ve found a suitable paint, the fun part begins – selecting the perfect color! Whether you want to create a bold statement or enhance your existing decor, there are endless color options.
Feel free to experiment with different hues and finishes, such as matte or metallic, to create a unique look that reflects your style. With the right paint and creativity, you can transform any space into a work of art.
Applying the First Coat of Paint
Transforming a drab and boring set of chairs into something new and exciting can be a fun and rewarding DIY project. Applying the first coat of paint is one of the essential steps in this process. Using a spray can, it’s essential to apply a thin and even layer of paint to the surface of the chairs. It ensures the final result will be smooth and free of bumps and lumps. Once the first coat is applied, allowing it to dry properly before moving on to the second coat is essential. This drying time can vary depending on the type of paint used, humidity in the room, and other factors. But waiting until the paint is fully dry before applying the second coat is crucial to avoid smudging and unevenness. So, take your time and enjoy the process of transforming your chairs into a brand-new pieces of furniture.
Applying the Second Coat of Paint
Ah, the joys of painting! Now that you’ve finished applying the first coat of paint, it’s time to kick it up a notch and add the second coat. Don’t underestimate the power of a second coat, as it can make a difference in the overall appearance of your paint job. Follow the same method you used for the first coat, using even strokes and applying the paint evenly. Once you’ve covered the entire surface, give it some time to dry thoroughly before moving on to the next step. It may require more patience, but the result will be worth it.
Painting the Cane Back
Are you ready to give your old cane back furniture a fresh look? Painting the cane back is a great way to update its appearance without buying a new piece. But how do you get the job done right?
Well, grab a small paintbrush and get ready to transform your cane back. To start, apply a thin and even layer of paint to each cane piece, taking care not to get any paint on the surrounding areas. It’s like coloring within the lines but with a brush! And remember, patience is critical when it comes to painting furniture. Take your time and enjoy the process. Once you’re done, step back and admire your handiwork. You just gave your cane back a new lease on life!
Protecting the Finish
Imagine you’ve just spent countless hours painting a beautiful piece of furniture and are proud of your stunning finish. But as soon as you start using it, you notice scratches and scuffs ruining your hard work! That’s where a clear sealant comes in to save the day. It adds a layer of protection to your finish and ensures that your masterpiece will remain pristine for years. So don’t skip this crucial step and risk damaging your hard work – protect the finish with a clear sealant.
Finishing Touches
Give your furniture a new lease on life by adding some finishing touches! The sealant has dried; it’s time to put the final pieces in place. Reattach the seat cushions or swap them out for a new set to give your furniture an updated appearance. These short details can make a big difference and breathe new life into your place. So don’t underestimate the power of finishing touches – they can transform a tired-looking piece of furniture into a stunning focal point of your home.
Cleanup and Care
Whether giving your old chairs a fresh coat of paint or primer, cleaning up any spills and adequately disposing of all materials is essential. Once your chairs are painted, caring for them is a breeze. Avoid harsh chemicals or abrasive cleaners; use a soft cloth to wipe them down. With proper cleanup and care, your newly painted chairs will shine for years, adding a stylish touch to your home or workspace.
Video Guide
Conclusion
Repairing and refurbishing your cane-back dining chairs is a simple and cost-effective way to give your dining room a fresh look. Whether you stain or paint your chairs, following these step-by-step instructions will ensure that your chairs look beautiful and last for years.
FAQs
Can you repair cane back chairs?
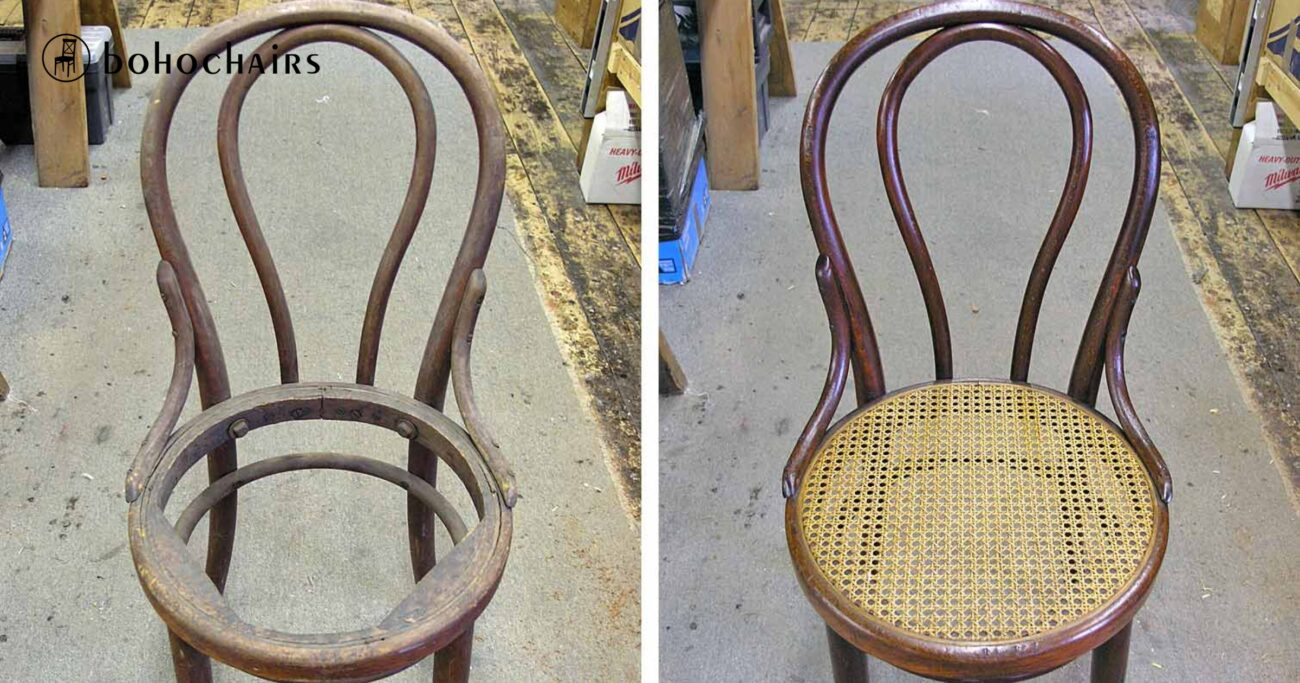
You can repair cane back chairs by replacing the cane webbing and spline. It is a relatively straightforward process that can be done with just a few tools and materials.
How do you refurbish a cane back chair?
To refurbish a cane back chair:
- Remove any old seat cushions and clean the chairs thoroughly.
- Sand the chairs and apply a fresh coat of stain or paint.
- If the cane webbing is damaged, replace it with new cane webbing and spline.
How do you fix a broken cane?
You can use wood glue to reattach the broken piece to fix a broken cane. Apply the glue to the broken piece and press it firmly into place. Allow the glue to dry completely before using the chair.
How much does it cost to Recane a chair seat?
The cost of retaining a chair seat can vary depending on the size of the chair and the type of cane webbing used. It can cost between $50 and $150 per chair. However, the cost can be significantly less if you do it yourself.