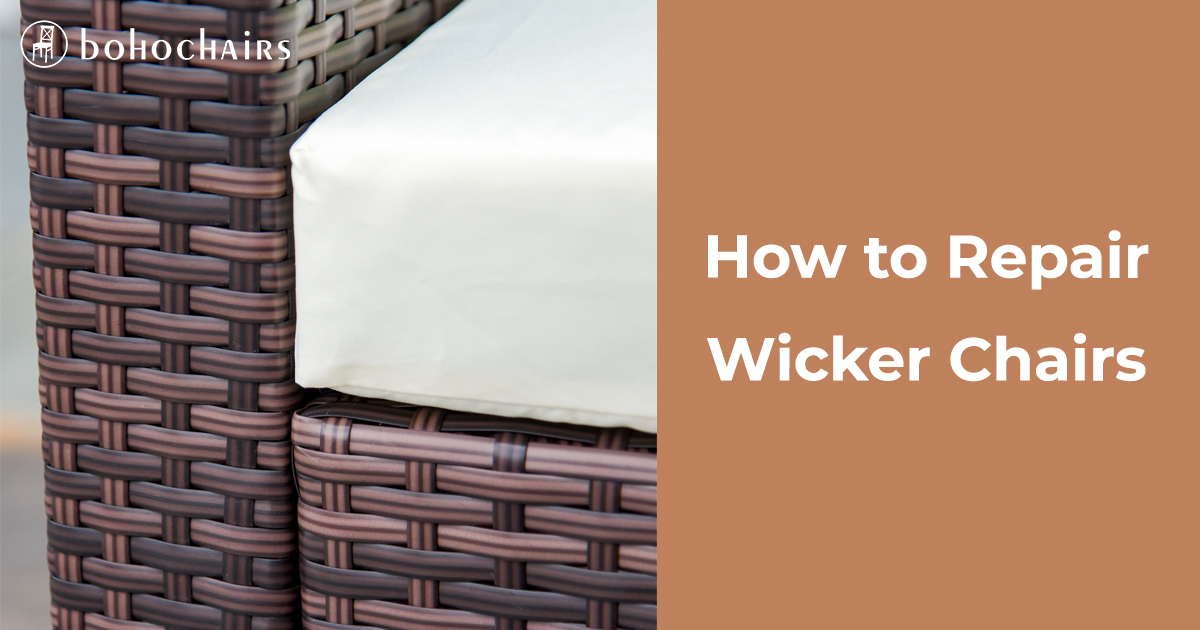
Wicker furniture has been a popular indoor and outdoor decor choice for centuries. The natural, woven texture of wicker furniture adds a touch of charm and elegance to any space. However, just like any other type of furniture, wicker chairs can become damaged over time, especially with regular use. So, is it worth repairing your damaged wicker chairs, or is it time to say goodbye to them? And if you decide to repair them, how do you do it? In this article post, we will discuss everything you need to know about repairing wicker chairs, including how to replace missing or damaged wicker furniture reeds. But before going to start did you check these 5 Bohemian Wicker Chairs to Decorate Your Home?
Table of Contents
Is Your Wicker Furniture Worth Repairing?
When deciding whether to repair or change your wicker chairs, the condition of the chairs should be your first consideration. If your chairs only have minor damage, such as a few loose reeds or a small broken piece, it’s worth repairing them. Not only is it cost-effective, but it’s also a great way to preserve the beauty and sentimental value of the piece.
However, if your wicker chairs are severely damaged, such as if the frame is broken or if there are large sections of missing or damaged Reed, it may be more practical to replace them altogether. While repairing severely damaged wicker chairs is still possible, it may require time, effort, and resources. Ultimately, the decision to repair or replace your wicker chairs should depend on the extent of the damage and your personal preferences.
How to Repair Wicker Chairs
Replacing Missing or Damaged Wicker Furniture, Reed
Wicker furniture has a timeless and classic appeal, but wear and tear can take its toll over time. Rather than tossing out your beloved wicker chairs, consider repairing them. Replacing missing or damaged wicker furniture reeds is a straightforward process that can save money and restore your chairs to their former glory.
To begin, you’ll need to locate the damaged reed and identify the type of reed material used. It’s essential to take note of the shape, size, and color of the original reed to ensure a seamless repair. Take a sample of the reed to the wicker dealer to ensure you purchase the correct replacement reed. Once you have your replacement reed, observe and take note of the weave pattern of the undamaged reed. Use a wire tool to help guide the new reed into place and tuck the ends of the reed into the surrounding reed to secure it. Finally, stain and seal the repaired area to match the rest of the piece. By following these steps, you can have your wicker chairs look new quickly.
Locate Damaged Reed
Wicker furniture can be a beautiful addition to any home, but the reeds can become brittle and break over time. When this happens, locating the damaged reed and addressing the problem before it worsens is essential. Look at your wicker furniture and identify loose or missing reeds. These areas may require extra attention during the repair process.
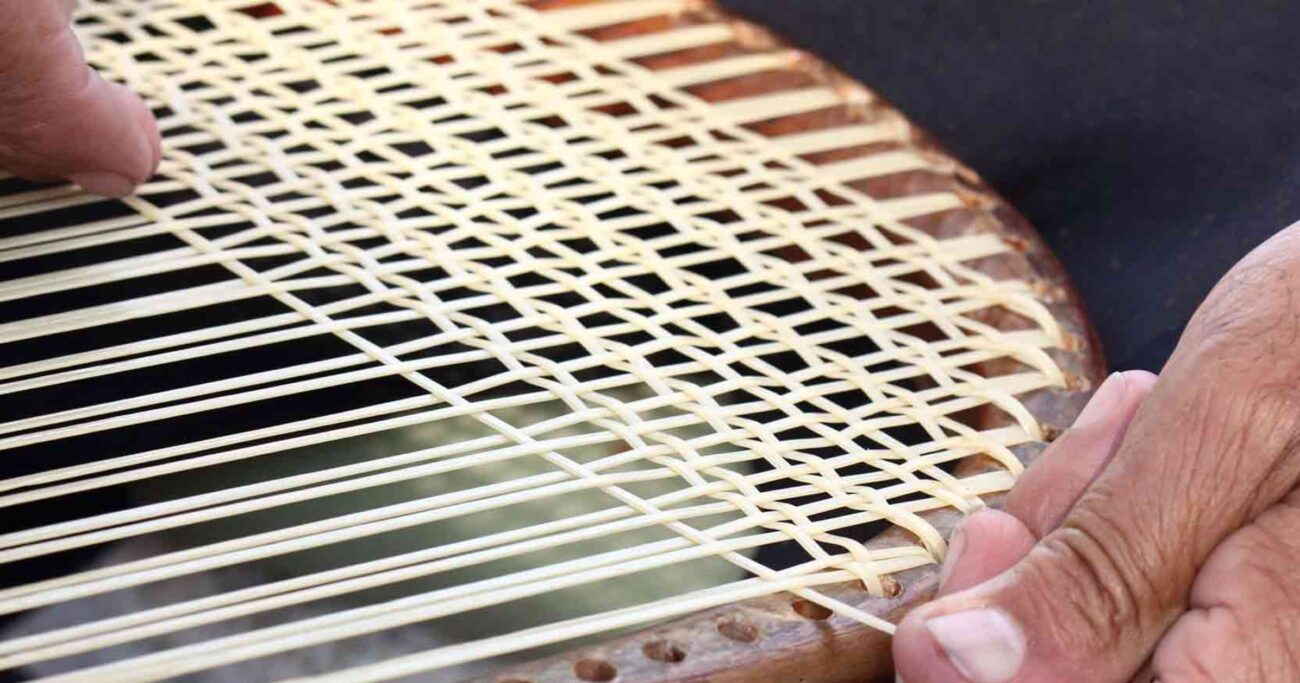
Identifying damaged reeds can be tricky, but it’s essential to take the time to locate all areas in need of repair. Once you have identified the damaged reeds, you can move to the next phase in the repair process: identifying the type of reeds used in the furniture. Whether working with natural or synthetic reeds, using a suitable material is essential when replacing missing or damaged reeds. By locating and identifying the damaged reed, you can ensure a successful repair and extend the life of your wicker furniture for years.
Identify Reed Material
Identifying the reed material used in your wicker furniture is crucial in determining the proper replacement reed. Natural Reed is known for their durability and strength, while synthetic Reed is highly resistant to the elements and easy to clean. If you are still determining which type of reed your wicker chair is made from, take a sample of the undamaged reed to a local craft store or wicker dealer for identification.
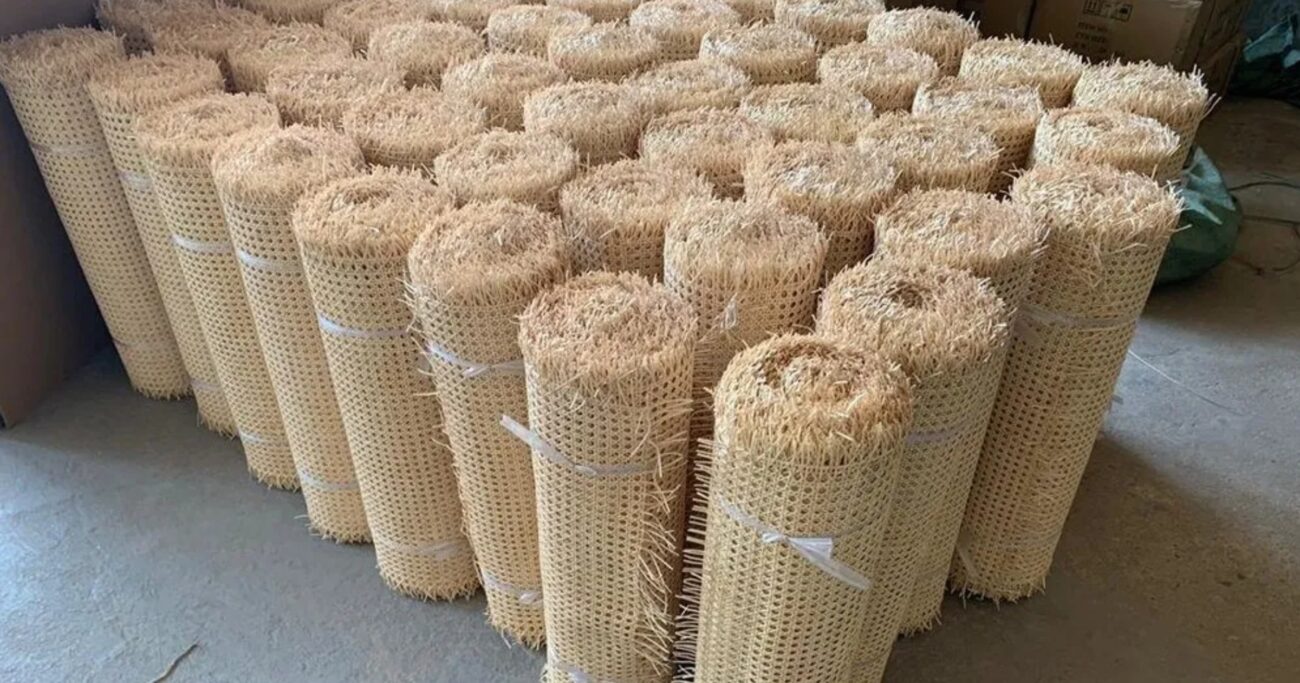
The reed’s shape, size, and color should also be noted when identifying the type of Reed used in your wicker chair. Natural Reed is typically uniform in size and color, while synthetic Reed can come in various sizes and colors. By taking note of these details, you can ensure that the replacement reed you purchase matches the existing reed and blends seamlessly into the woven piece.
Take a Sample of the Reed if Possible
Taking a reed sample is an excellent way to ensure you get the right replacement reed. Determining the type of Reed used in your wicker furniture can be challenging, especially if it’s an older piece. By taking a small sample of the reed with you, you can show it to the dealer and get an exact match. It ensures that the new reed will match the original Reed’s color, size, and shape, making the repair almost invisible.
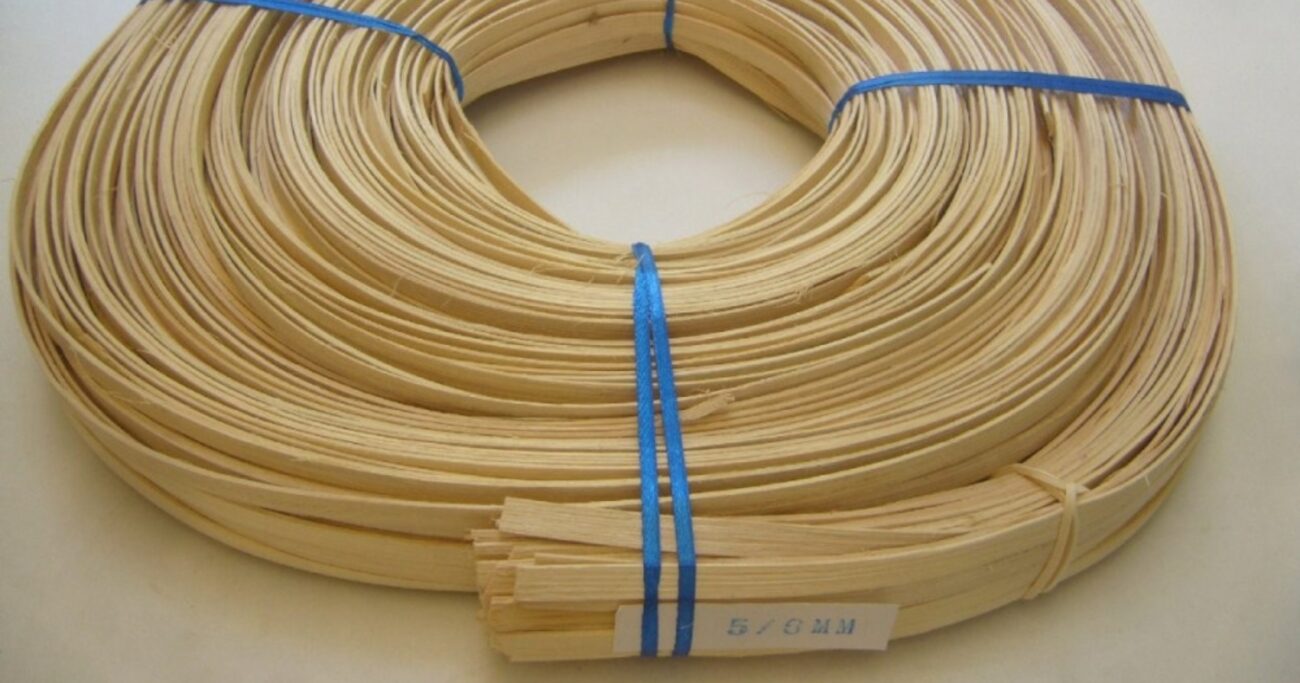
Identifying the correct type of Reed is crucial when repairing wicker furniture. A small reed sample can help you get the right replacement reed, saving you time and money. Don’t hesitate to take a sample of the reed with you when purchasing a new reed, as it can make all the difference in the outcome of your repair.
Determine the Quantity of Reed Needed
When repairing wicker chairs, it’s vital to ensure you have the correct amount of replacement reed. Measuring the length and width of the damaged area is crucial in determining the quantity of Reed needed. With this step, you may have more replacement reeds, resulting in an uneven and unattractive repair job.
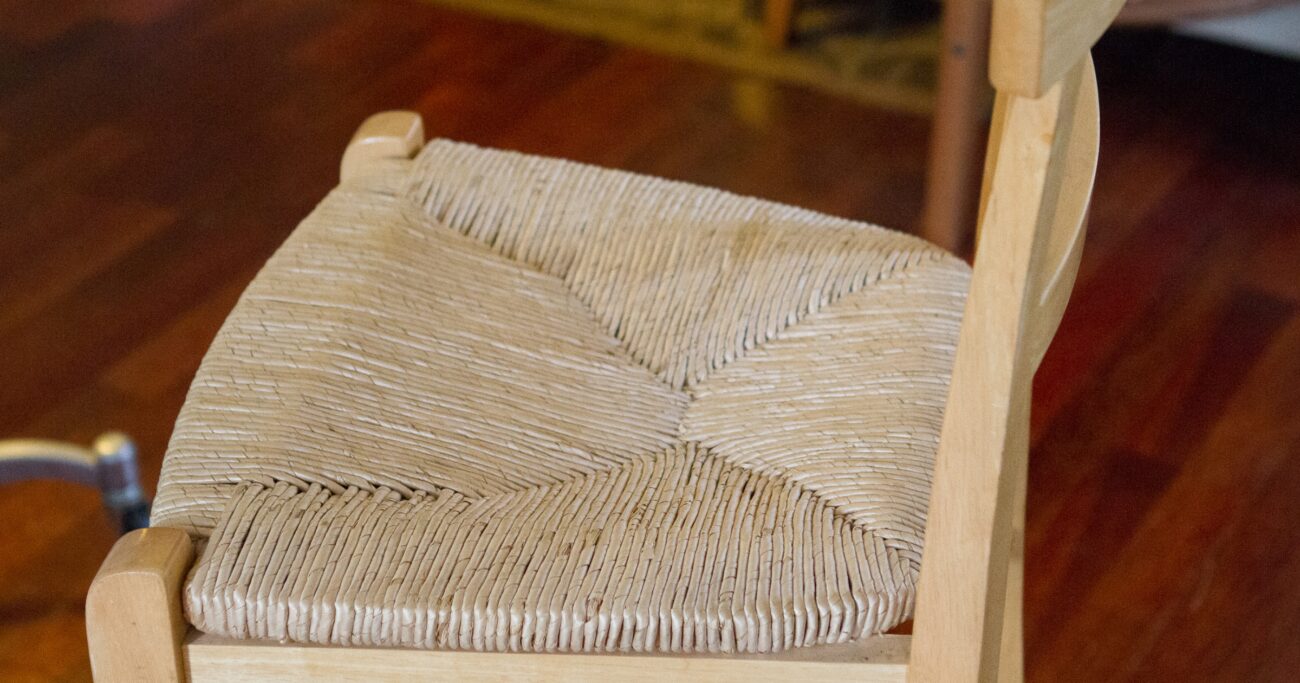
Once you have measured the damaged area, purchasing a little more Reed than you’ll need is a good idea. This way, you’ll have extra reeds to work with in case of mistakes or if you need to replace additional damaged reeds that may have gone unnoticed. Determining the number of reeds needed will ensure a successful repair job and save you time and money in the long run.
Contact Wicker Dealer and Acquire New Reed
Contact a wicker dealer or buy from a craft store to purchase replacement reed for your wicker chair repair. Wicker dealers offer a more comprehensive selection of natural and synthetic reeds in various sizes and colors to match your chair’s original reed. Craft stores may have a more limited selection but can still provide the necessary reed. When purchasing, buy enough reed to complete the repair, considering potential future repairs.
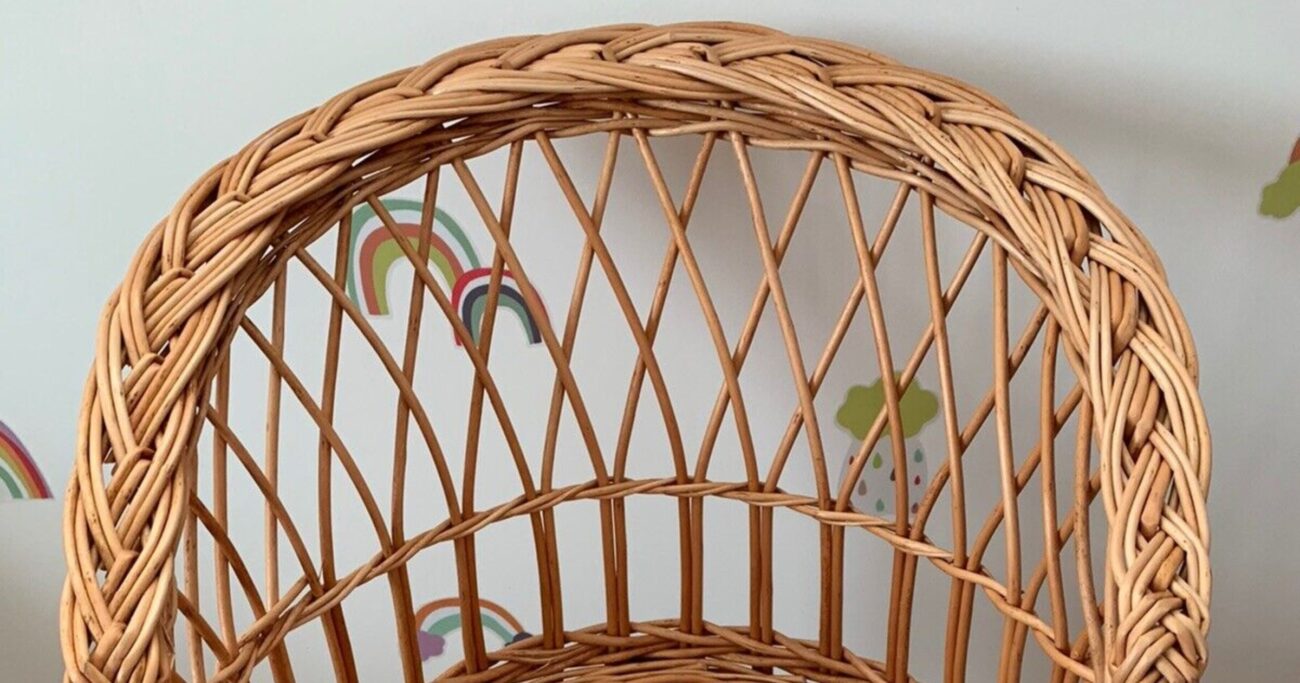
Identifying the type of Reed used in your wicker chair is essential before purchasing a replacement reed, as not all are identical. When buying, sample the undamaged reed to ensure you get the right match. With the correct replacement reed, you can confidently move to the next phase of the repair process.
Observe and Take Note of the Weave Pattern
Repairing wicker furniture requires attention to detail, and one of the most crucial steps is observing and noting the weave pattern of the undamaged reed. This step may seem tedious, but ensuring the repair blends seamlessly with the rest of the piece is essential. By taking note of the weave pattern, you can use it as a guide for weaving the replacement reed into place. This technique will help you match the original pattern, resulting in a more aesthetically pleasing and structurally sound repair.

Weaving rattan requires skill and patience. When repairing wicker furniture, taking your time and paying attention to every detail is essential. Observing and taking note of the weave pattern ensures the repair is seamless and undetectable. Whether you’re repairing a wicker tables and chairs will help you achieve a successful repair.
Remove the Damaged reed
Removing the damaged reed is a crucial step in repairing wicker chairs. It requires patience and precision to ensure that the surrounding reed remains intact. Using wire cutters, carefully cut the damaged reed as close to the remaining one as possible. Take your time and ensure not to damage any remaining reeds. Remove any broken or loose reeds around the damaged piece to create a clean surface for the replacement reed.
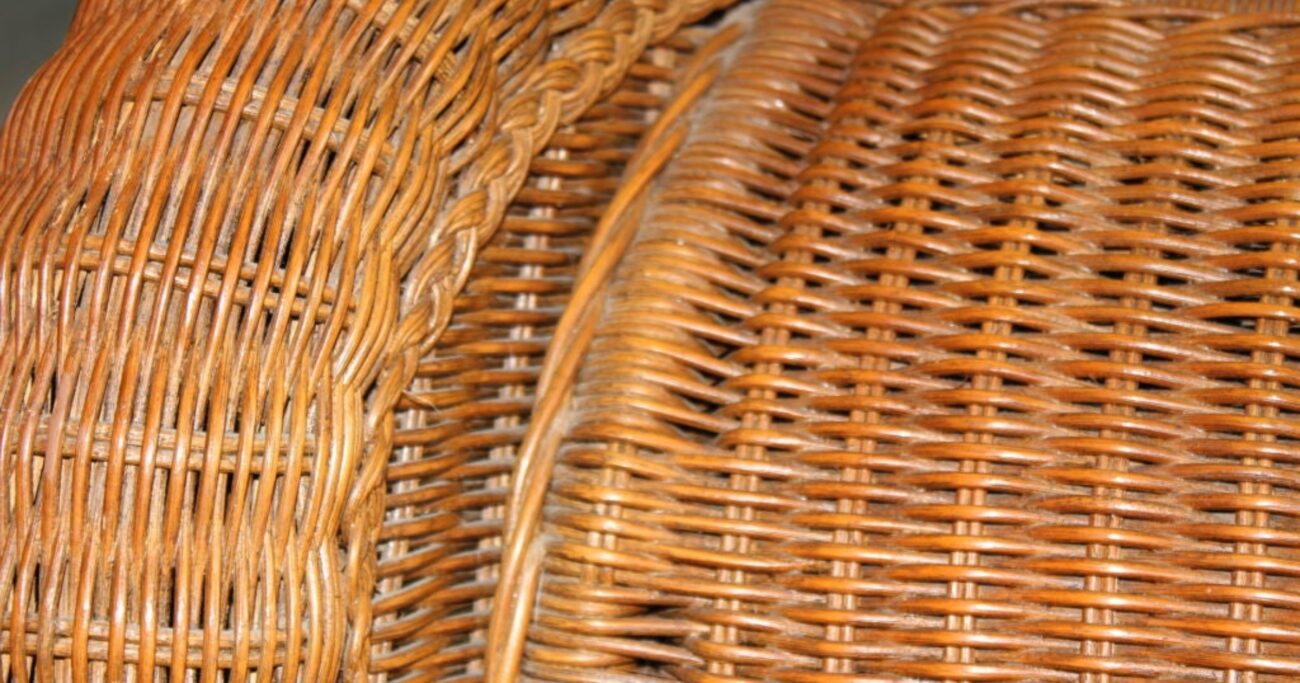
Once you have removed the damaged reed, take note of the weave pattern and the type of Reed used. It will be essential when weaving the replacement reed back into place. If you have trouble identifying the type of Reed used, take a sample of the undamaged reed when purchasing the replacement reed. With the damaged Reed removed, you can begin weaving the new reed into place and restoring your wicker chair to its former beauty.
Make a Wire Tool to Assist in Pulling the Reed Back Up
Make a wire tool using a paper clip or a similar-sized wire to assist in weaving the new reed into place. Bend the wire into a hook shape and pull the new reed through the woven piece.
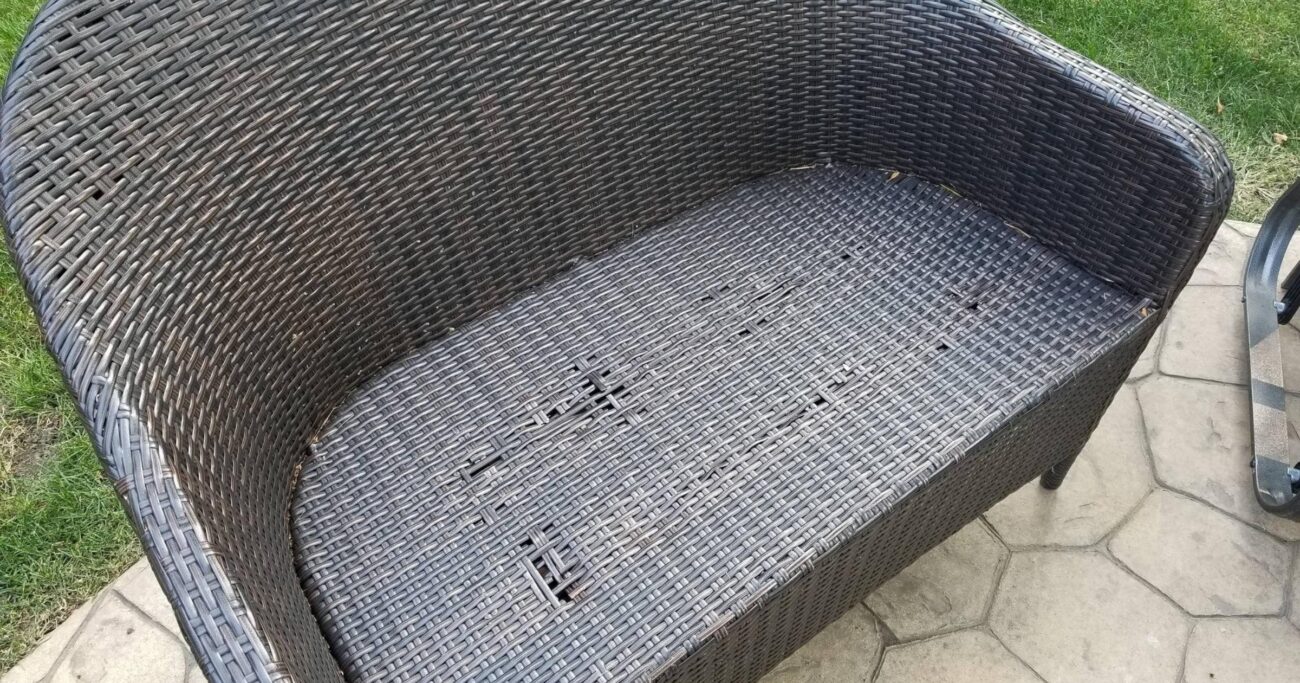
Cut and Weave New Reed Into Place (Tuck In Ends Where Necessary). Cut the replacement reed to the correct length and weave it into place, following the same pattern as the undamaged reed. Use the wire tool to help guide the reed through the woven piece. Once the new reed is in place, tuck the ends into the surrounding reed to secure it.
Stain and Seal Natural Wicker
Staining and sealing natural wicker is essential to ensure the repaired area matches the rest of the piece. Since natural wicker is porous and absorbs stains differently, applying the stain evenly and taking time is essential. Once the stain has dried, use an acrylic spray clear coat to protect the repaired area from future damage and prevent dirt and debris from settling into the material’s pores.
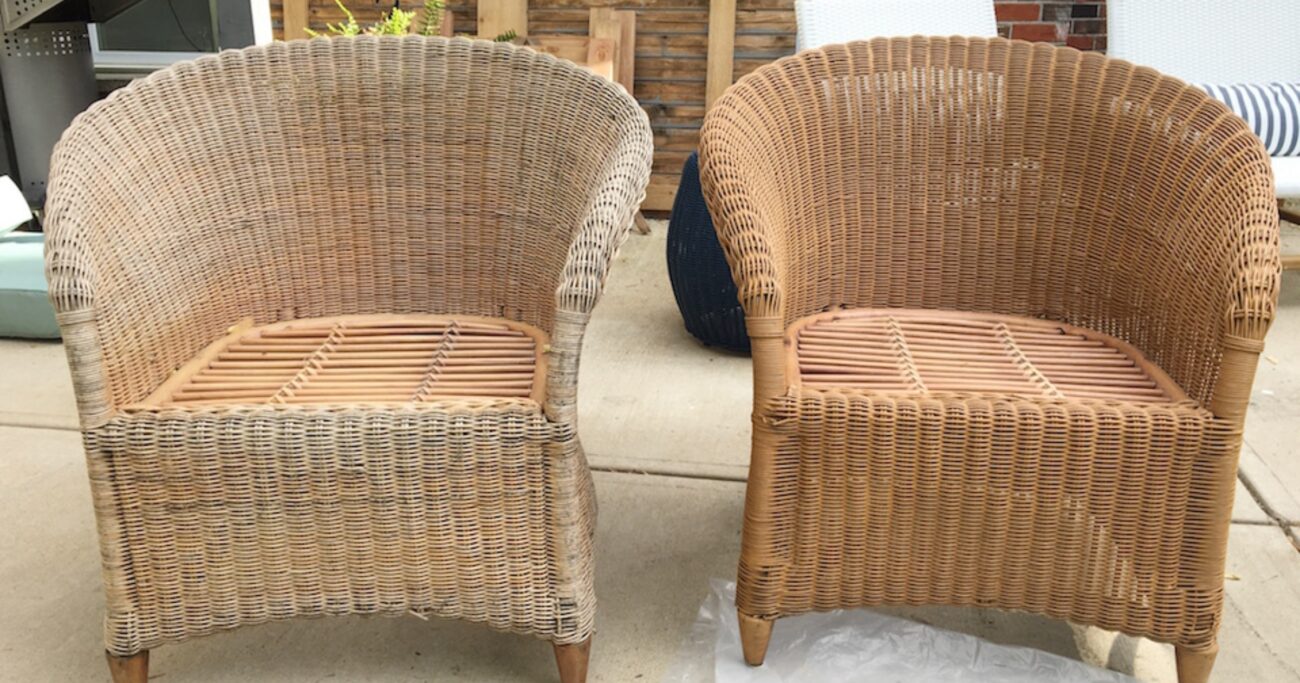
Put the stain with a brush or cloth, coat the repaired area evenly, and allow it to dry completely before applying the clear coat. You can restore your natural wicker furniture to its former beauty by paying attention to detail.
Video Guide
Conclusion
Repairing wicker chairs may seem daunting, but it can be a simple and cost-effective solution with the right tools and techniques. Whether you are working with a natural or synthetic reed, it’s essential to identify the type of Reed before purchasing a replacement reed. Take the time to observe the weave pattern of the undamaged reed and use a wire tool to assist in weaving the new reed into place. You can restore your wicker chairs to their former glory with patience and attention to detail.
FAQs
When repairing wicker furniture, it’s best to use wood glue as it dries clear and won’t discolor the natural reed. Put a thin layer of wood glue on the damaged area and press the reed into place. Use clamps or tape to hold the reed in place while the glue dries.
Brittle wicker furniture can be repaired by replacing the damaged reed. Follow the same steps as replacing missing or damaged Reed, identifying the type of Reed used, and weaving the replacement reed in the same pattern as the undamaged reed. If the entire piece is brittle, it may be time to replace it.
Yes, it is often worth repairing wicker furniture, especially if it has sentimental value or is high quality. Wicker furniture can be expensive to replace, and repairing it can be a cost-effective way to extend the piece’s life. Additionally, repairing wicker furniture can be a fun and rewarding DIY project.
To repair damaged wicker furniture, identify the damaged reed and acquire a replacement reed from a wicker dealer or craft store. Remove the damaged reed and weave the new reed into place, matching the original weave pattern. Once the new reed is in place, stain and seal the repaired area to match the rest of the piece.
Yes, wicker furniture can be restored with effort and know-how. The process involves:
1: Identifying damaged or missing reeds.
2: Acquiring replacement reeds.
3: Reweaving the damaged area to match the original weave pattern.
Once the repair is complete, staining and sealing the area can help to protect it from future damage and ensure that it matches the rest of the piece. With patience and attention to detail, even severely damaged wicker furniture can be restored to its former glory.


